Why Businesses Need Accurate Image to PES File Conversion for Custom Embroidery
You have a sharp company logo, a batch of blank polo shirts, and a Brother embroidery machine ready to go. But when you load the design, the machine stutters, thread snaps, and the final stitch looks nothing like your brand. The problem almost always starts with the file. Your machine needs a PES format, not a simple JPEG or PNG. Learning how to convert image to PES file accurately is not just a technical detail; it is the foundation of professional custom embroidery.
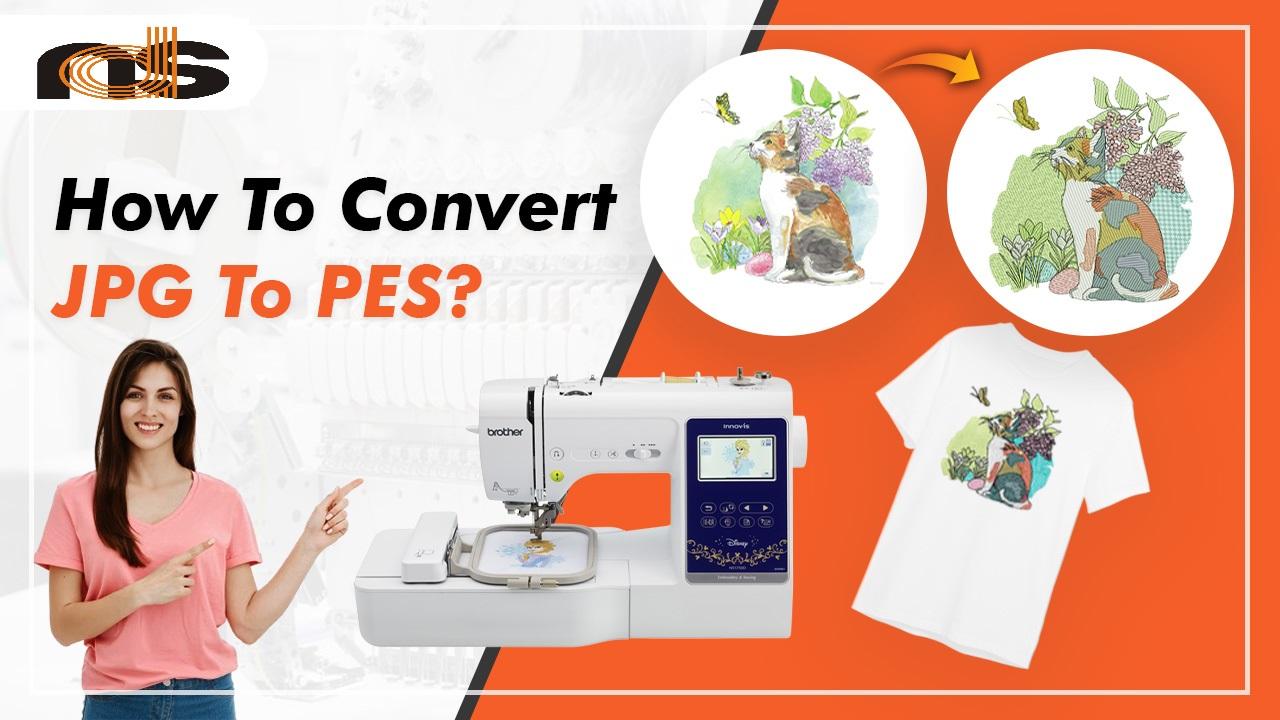
What Happens When You Convert Image to PES File Correctly
When you convert image to PES file using professional methods, you turn a flat pixel picture into a precise set of stitch commands. The PES file tells your Brother machine exactly where to put each needle punch, which direction to sew, how dense the stitches should be, and when to change thread colors. Accurate conversion also adds underlay stitches to stabilize the fabric, applies pull compensation so circles stay round, and sequences colors to minimize trims. For businesses that rely on embroidered merchandise, this accuracy means the difference between a crisp, durable logo and a puckered, embarrassing mess.
Why Inaccurate Conversion Hurts Your Brand
Cutting corners on image to PES conversion costs more than just wasted thread. A poorly converted file produces logos with gaps, crooked text, and uneven fills. Customers who receive that sloppy work associate the low quality with your entire brand. They may not know what digitizing means, but they know a bad stitch when they see it. Inaccurate conversion also damages your production efficiency. Operators waste hours adjusting tension and rehooping garments. Needles break, fabric gets trashed, and deadlines slip. The money you saved on a cheap online converter disappears into ruined blanks and frustrated staff.
The Hidden Costs of Auto-Converting Tools
Many business owners fall for online converters that promise instant PES files for a few dollars. For a simple black‑and‑white shape, these tools sometimes work. For a full‑color logo with curves, small text, or overlapping elements, they fail spectacularly. Auto‑converters guess where edges are, apply generic stitch settings, and ignore your fabric type. The result is a file that looks fine on screen but sews like a nightmare. You will spend more time troubleshooting thread breaks than you saved on the conversion. Over a year of regular embroidery, those hidden costs easily surpass the price of professional digitizing.
How Professional Conversion Ensures Production-Ready Files
Professional image to PES conversion follows a rigorous manual process. A skilled digitizer imports your artwork into advanced software like Wilcom or Pulse. They manually trace each curve using the pen tool, creating smooth vector paths. Auto‑trace is never used because it leaves jagged edges. Next, they assign stitch types: satin stitches for borders and letters, tatami fills for large areas, and run stitches for fine details. They add underlay tailored to your specific fabric. For stretchy polo knits, they use heavier underlay; for stable denim, a lighter foundation.
Pull compensation comes next. Thread tension pulls fabric inward as the machine stitches. Without compensation, a perfect circle becomes an oval. The digitizer adds fractions of a millimeter to each shape to counteract this pull. They also sequence colors intelligently, grouping same‑color objects together to reduce thread trims. Finally, they run a test sew on your actual fabric, check for gaps or puckering, and revise as needed. The result is a PES file that runs cleanly on the first production run.
Fabric Matters More Than You Think
One of the biggest mistakes businesses make is using the same PES file on different garments. A file digitized for a heavy denim jacket will pucker on a lightweight performance shirt. Stretchy fabrics need more pull compensation and heavier underlay. Textured fabrics like pique knit require adjusted stitch angles to prevent thread from sinking into the gaps. Slippery fabrics like nylon need extra underlay and sometimes a water‑soluble topping.
Accurate image to PES conversion always accounts for your fabric. A professional digitizer asks what material you plan to sew onto before they start. They create fabric‑specific versions of your logo, ensuring consistent quality across your entire product line. This attention to detail protects your brand’s reputation, whether you are embroidering work uniforms, promotional caps, or retail merchandise.
The Role of Test Sews in Quality Assurance
Even the best digitizer cannot predict every machine variation. That is why professional conversion includes a test sew. You run the PES file on a scrap of your actual fabric and examine the results under bright light. Look for gaps between fill and border, puckering, thread breaks, or misaligned colors. If you see issues, you send a photo back to the digitizer. They adjust pull compensation, underlay, or stitch angles at no extra charge. This revision process continues until the logo stitches perfectly.
Skipping the test sew is a common business mistake. You might be in a rush to fill an order, but a single ruined batch of fifty shirts costs far more than the hour it takes to test. Build testing into your workflow. Keep a log of successful settings for each fabric type. Over time, you will build a reference library that speeds up future jobs and eliminates repeat errors.
How Accurate Conversion Saves Time and Money
At first glance, professional image to PES conversion costs more than an online converter. A standard logo runs ten to twenty‑five dollars, while a converter charges three to five dollars. But look at the total cost of ownership. A poor file costs you at least one ruined garment (ten to fifty dollars), an hour of operator time (twenty to forty dollars), and the frustration of a delayed order. Multiply that by several designs per week, and you lose hundreds of dollars monthly. Professional conversion eliminates that waste. A well‑digitized file sews correctly on the first or second test. Your operators stay productive. Your materials stay out of the trash. Your customers receive their orders on time. The upfront investment pays for itself many times over.
Why Needle Digitizing Excels at Image to PES Conversion
When you need accurate, reliable conversion for your business, Needle Digitizing delivers. Their team manually digitizes every design, applying the right stitch types, fabric‑specific underlay, and precise pull compensation. They provide digital proofs and physical test sew‑outs. They offer free revisions until your logo stitches exactly as you envisioned. They also handle any file format, including PES for Brother machines. For businesses that cannot afford production delays or poor embroidery quality, Needle Digitizing is the smart choice.
Conclusion
Accurate image to PES file conversion is not a luxury; it is a necessity for any business that offers custom embroidery. Auto‑converters and online tools cut corners, leading to thread breaks, wasted materials, and damaged brand reputation. Professional manual digitizing accounts for fabric behavior, applies proper underlay and pull compensation, and includes test sew‑outs with free revisions. The result is a production‑ready PES file that sews cleanly on the first run, saving you time, money, and frustration. Whether you run a small shop or a large production facility, invest in professional conversion. Your machine, your operators, and your customers will all thank you.